
Choosing the hosting
Despite the popularity of services such as AWS, Azure and even Github Pages, I prefer more granular control of my web presence. For this purpose, I often pick between two VPS providers – DigitalOcean and Contabo. DigitalOcean is often a popular choice due to its powerful tooling, great website and last but not least it sponsoring a bunch of tech/linux media in the past. That has recently been supplanted by Linode, but the influence still holds.
DigitalOcean
In my experience, DO is invaluable whenever you need to spin out something quick and easy, where time is of the essence and you don’t plan on holding on to it indefinitely – a perfect prototyping environment. Under a minute you can have a distro of your choosing up and ready in a vanilla state, preconfigured based on your needs, clone your backup/snapshot or import your very own image. Better SSH management, fast backups/snapshots and many more creature comforts are, however, paid for by low basic storage and understandably higher pricing.


Thanks to the great tutorials, reliability and a plethora of settings and optimisations you can do directly in their web dashboard I recommend DigitalOcean for anyone who can afford premium pricing. If you choose this option, you can pretty much skip this article and go straight for a LEMP server, preset your ssh public keys and just follow their amazing documentation for setting up pretty much everything you wish to do. If you’re a cheapskate who wants to maximise their investments (like me), read on.
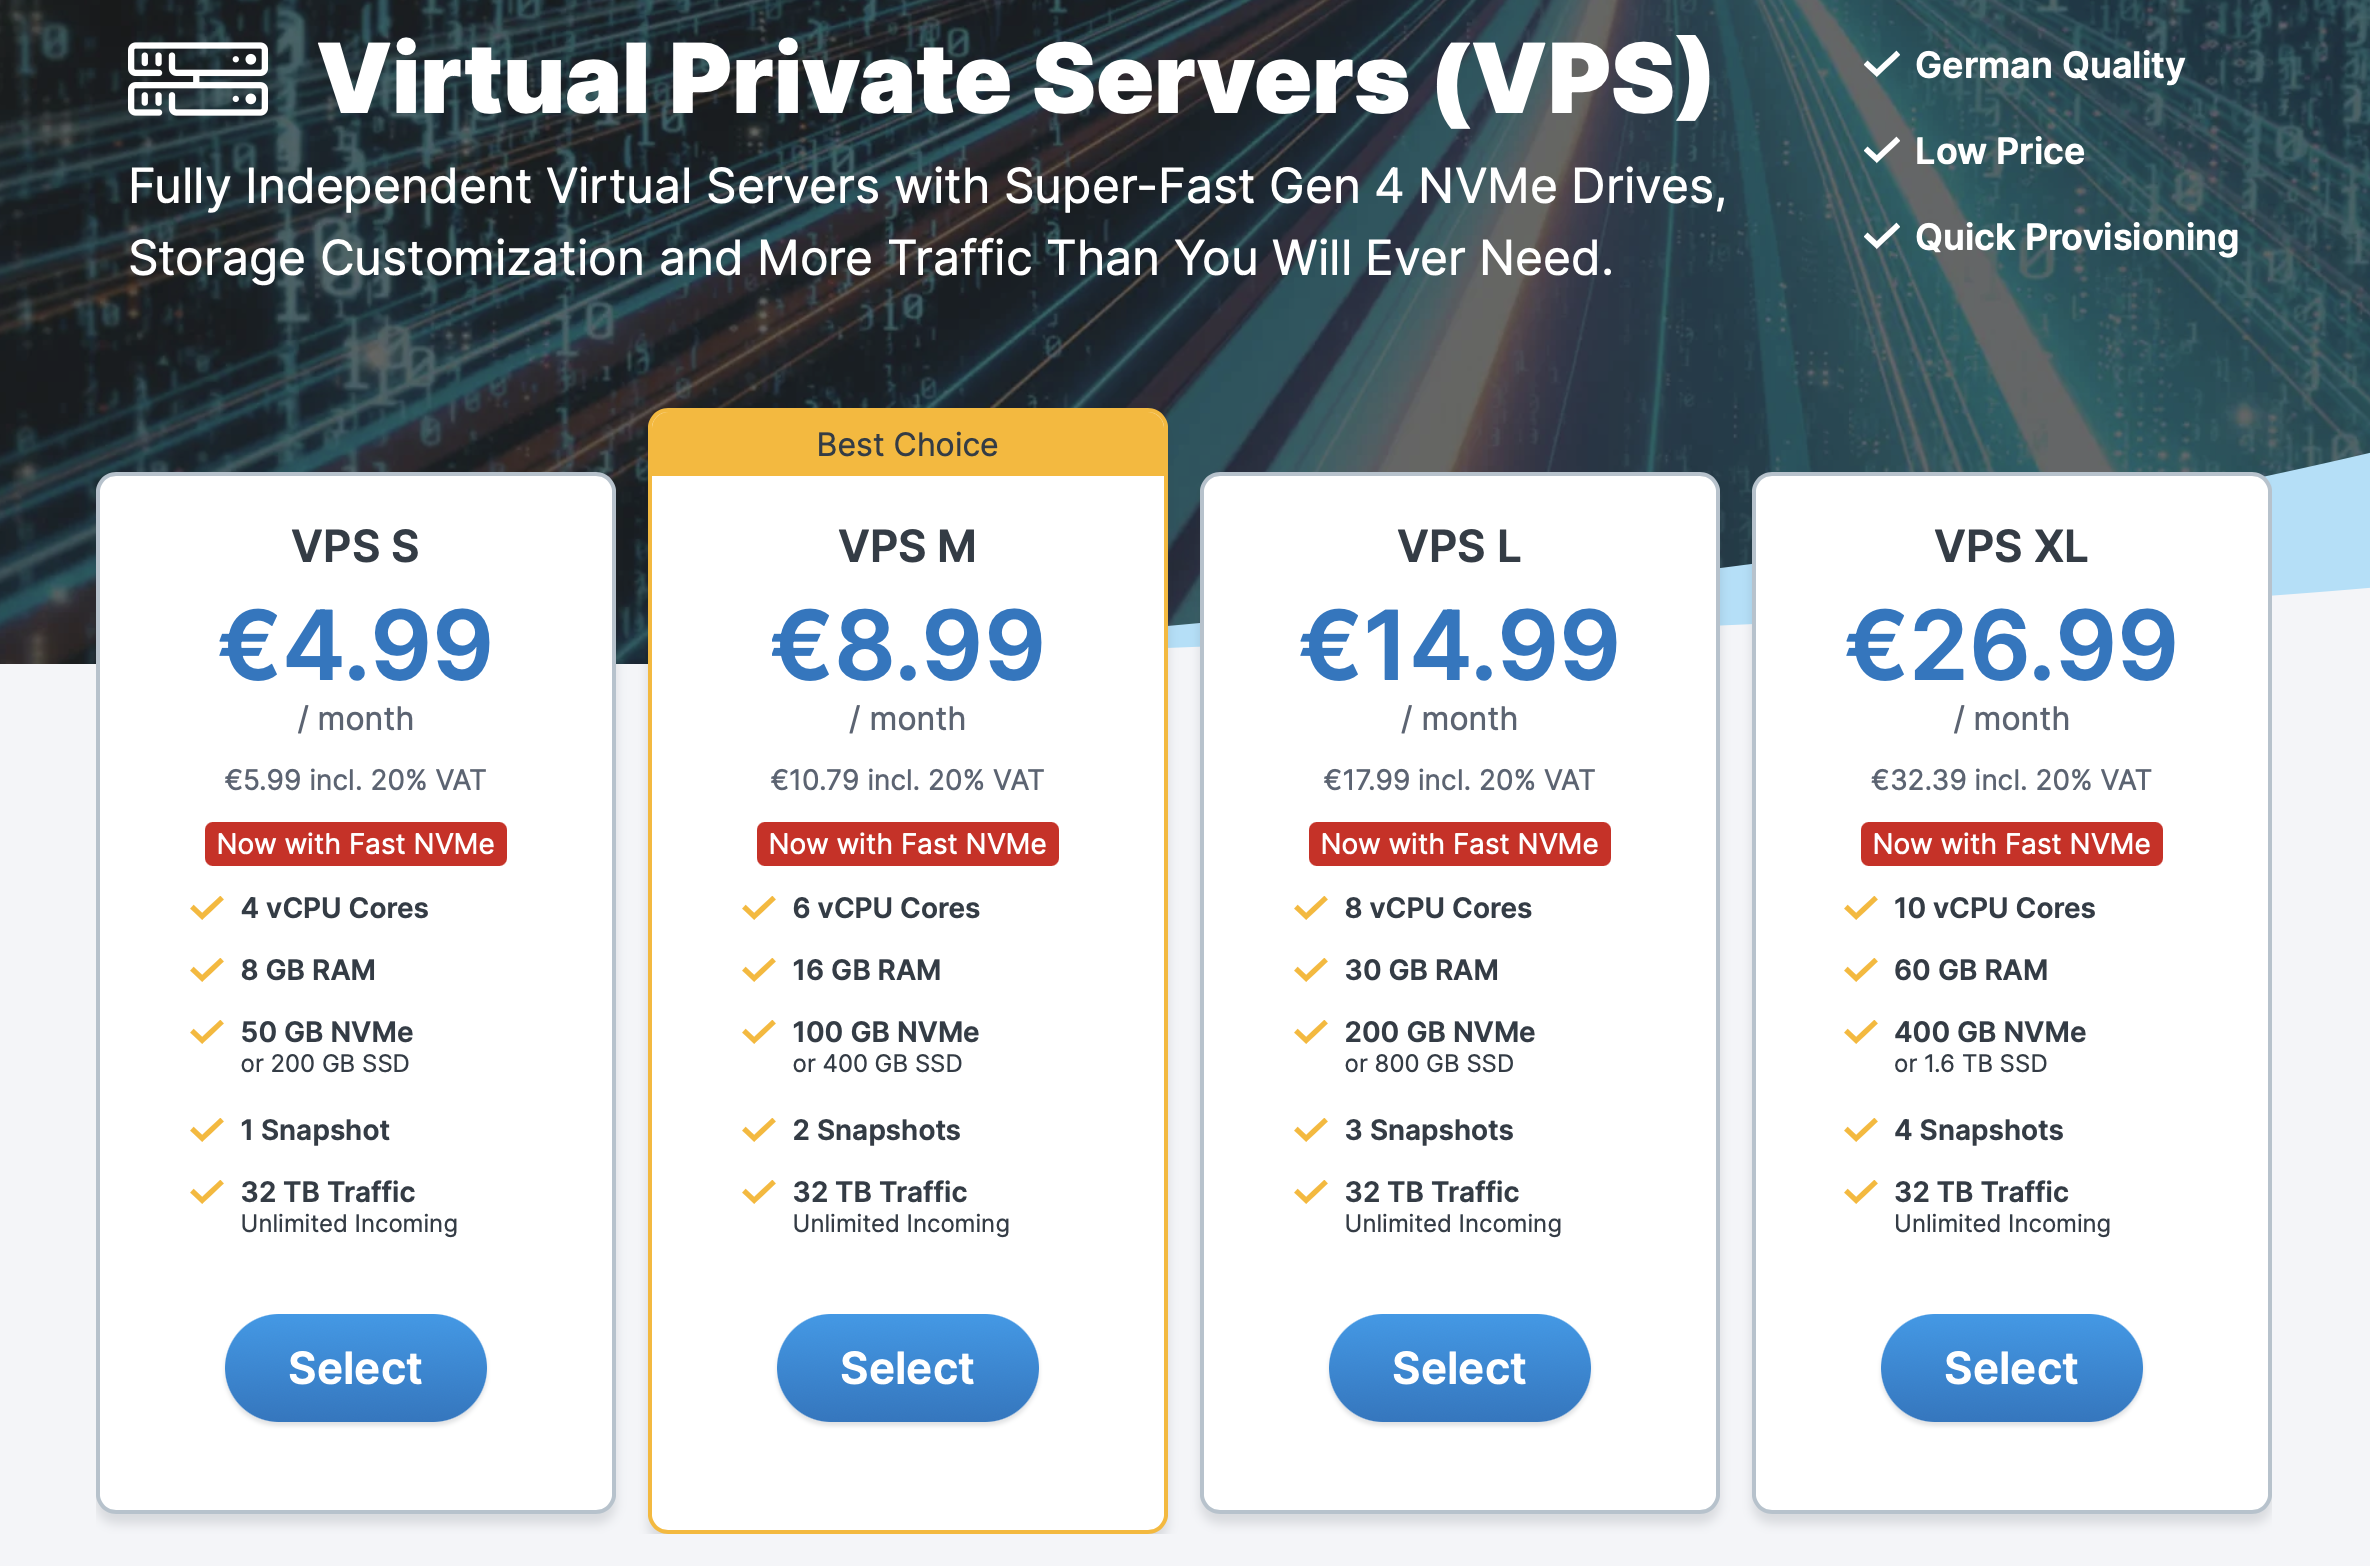
Contabo
Let me put is straight. Contabo doesn’t have a stellar reputations. It is incredibly cheap. I don’t know of any VPS hosting that comes anywhere near with its price/(performance+storage+location) ratio, but you sacrifice the ultra-quick deployment (VPS can take up to 3 hours for them to set up, real hardware even longer), lose some of the tools you may enjoy in DigitalOcean and if you want to save on the setup fee, you need to pay the whole year in advance. With their ruthless German efficiency, they also don’t shy away from cutting your server off at any sign of abuse (such as a hacked WordPress instance) requiring you to clean up your act and pay up an approx €30 fee before they reconnect your VPS. On the other hand, it takes many emails and begging to make them reach out the various IP blacklist services in order to get a mail server within their IP region to deliver emails to Gmail, Hotmail and other popular mail (or rather personal information mining) services.


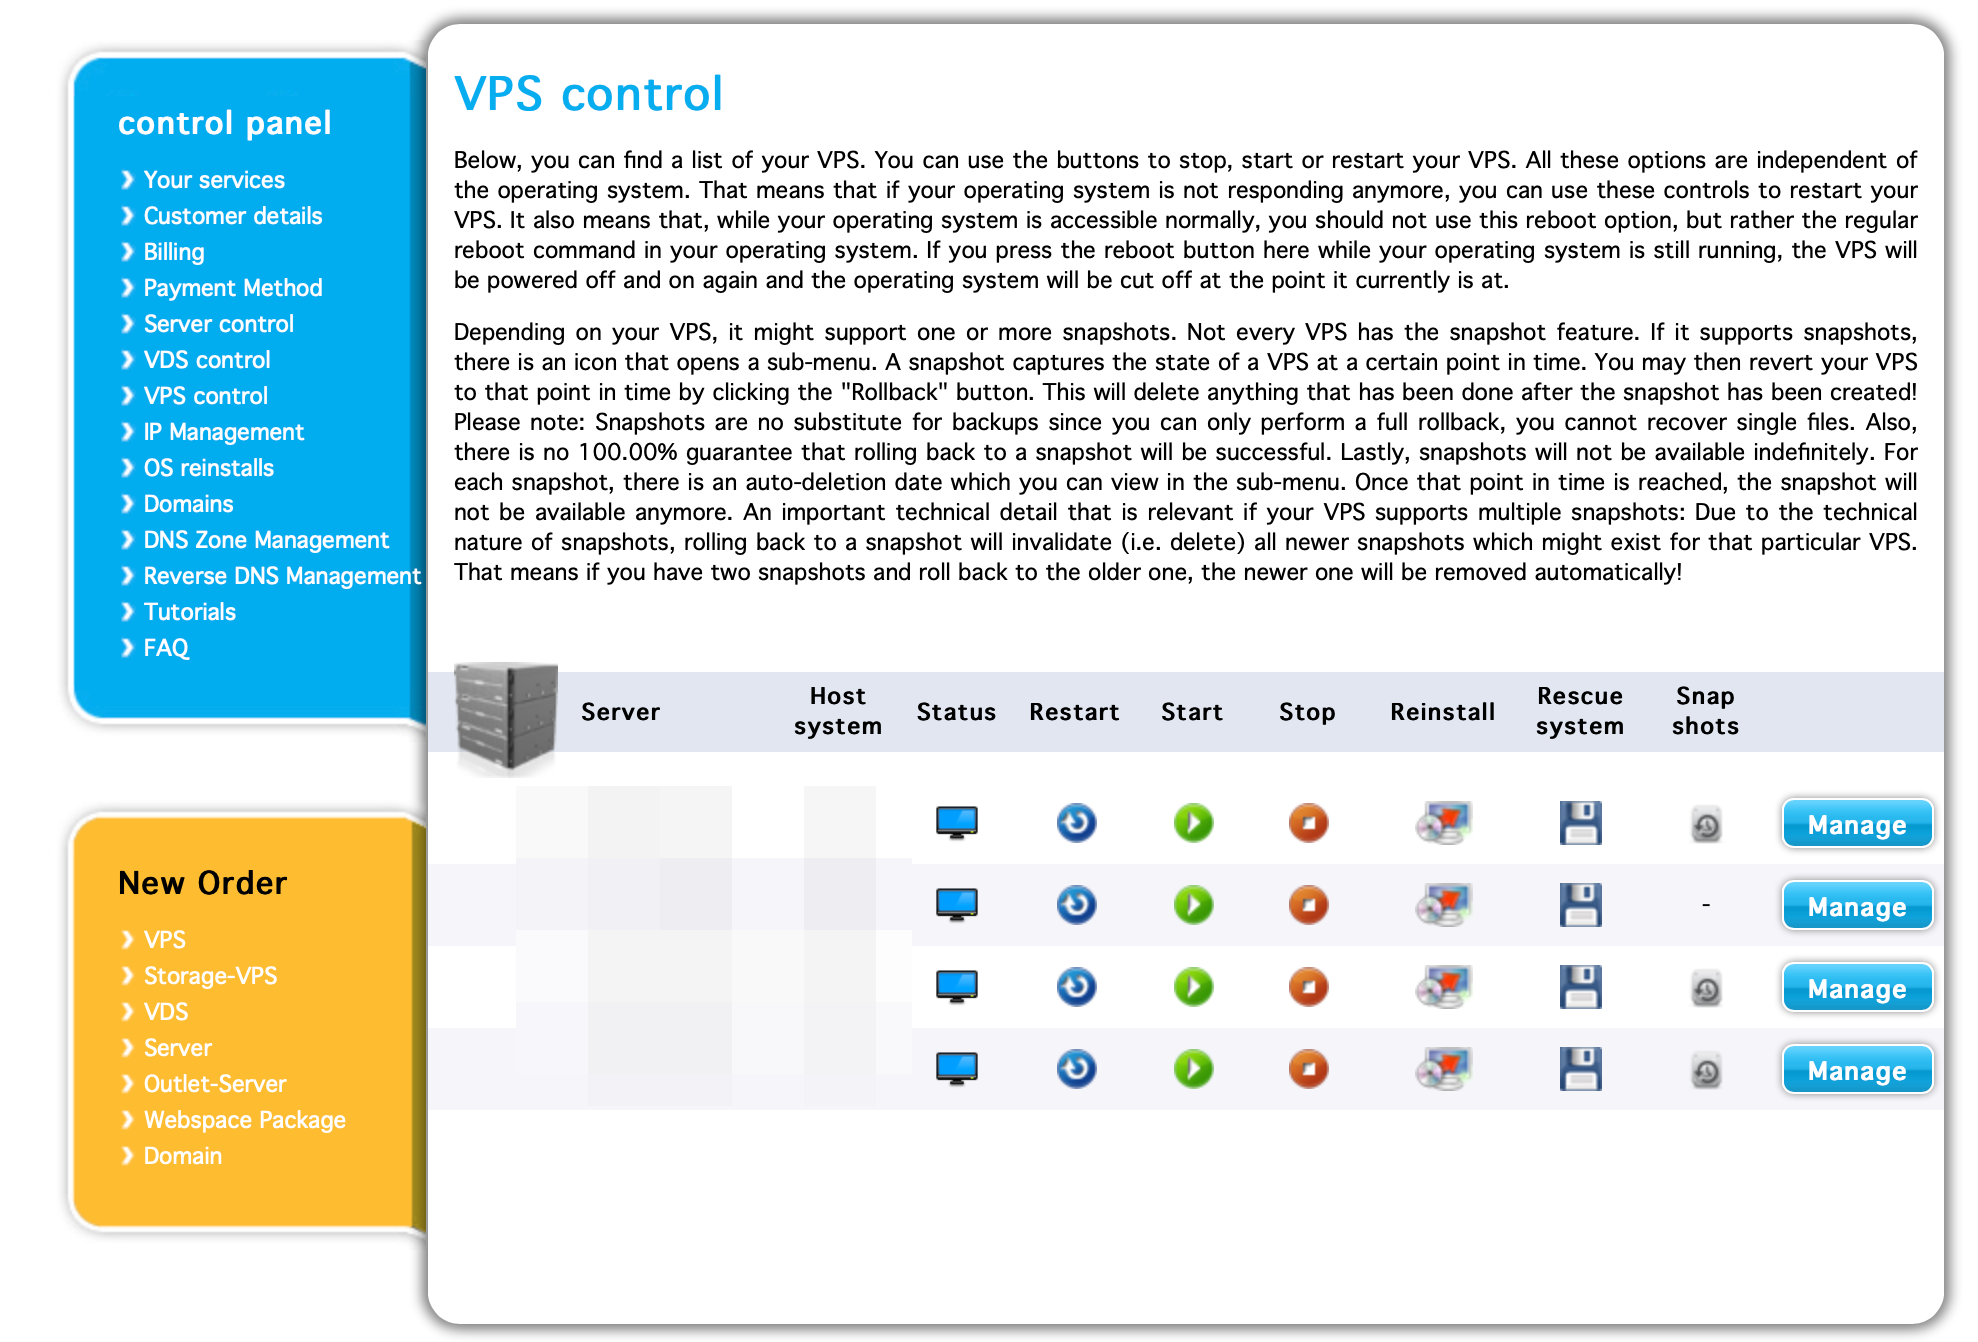
When you finally get an email from Contabo that your VPS is setup and ready to be used, you will also get a login and password for SSH access. You need to use it and change it ASAP. It was delivered to you via unencrypted email and provides an unrestricted access to your server. If you get “hacked” because of this, I feel no pity towards you.
Initial setup
Now that you have your VPS up and running, open up your favourite terminal emulator and ssh into it.
ssh root@vps-ip-address
Once you’re in, create a new user, grant him sudo privileges, exit the root user session, log in with your user and disable root password.
adduser your-username
usermod -aG sudo your-username
exit
ssh your-username@vps-ip-address
sudo passwd -l root
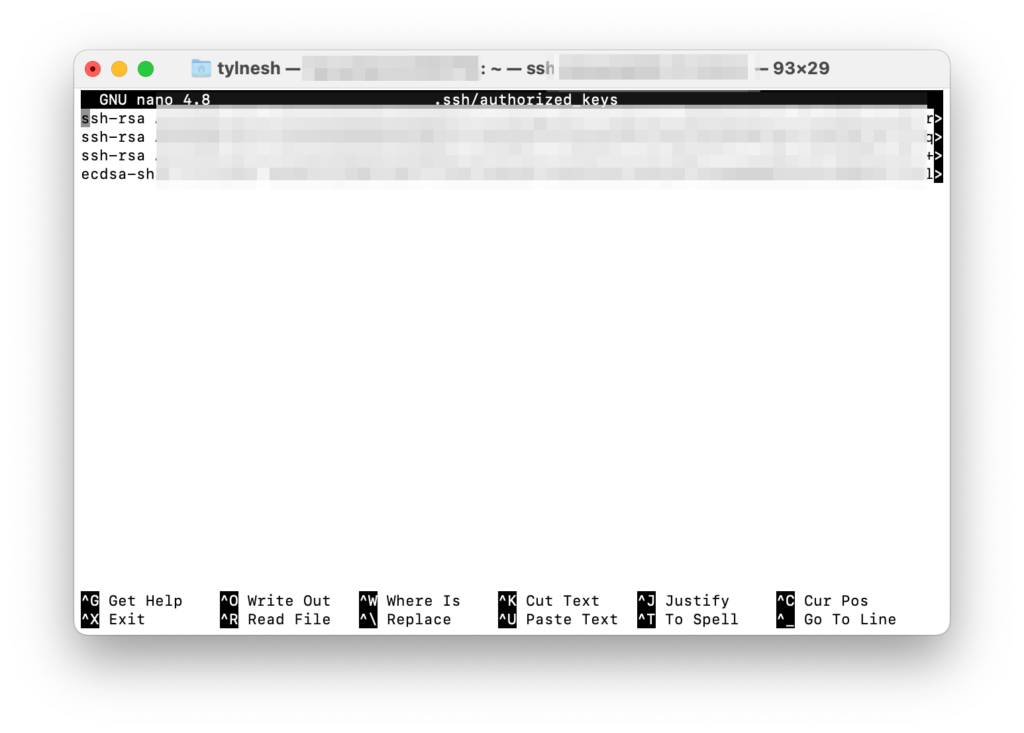
I also like to set up ssh so that it only accepts connections from clients with my private ssh keys. You can learn about ssh keys in this great article at freecodecamp.org. First you need to create a hidden .ssh folder in your home folder, create a file called authorized_users, change it to be readable and writeable only by the owner and paste in the public part of your key.
mkdir ~/.ssh
touch ~/.ssh/authorized_keys
chmod 600 ~/.ssh/authorized_keys
nano ~/.ssh/authorized_keys
Your file should look kinda like this:
Then, open up the config file for your ssh daemon and disable password login (Warning, you will be unable to login from any machine that doesn’t have its public ssh key in the aforementioned authorized_keys file).
sudo nano /etc/ssh/sshd_config
Look for a line that says:
#PasswordAuthentication yes
and change it to:
PasswordAuthentication no
Save your changes, close the file and restart your ssh daemon with this systemd command:
sudo systemctl restart ssh
Last but not least, we’ll enable the firewall manager – ufw. I like ufw, because it has a very simple syntax and isn’t as scary as configuring iptables. In the next three lines, we’ll allow OpenSSH to go through the firewall, raise the shields and check on their status.
sudo ufw allow OpenSSH
sudo ufw enable
sudo ufw status
Right now your server only accepts SSH traffic (and it’s hypervisor accepts VNC, unless you wisely disabled it), which is good, because you should only allow access to services that you’ve set up and know what they are doing.
LEMP
LEMP is an acronym that means Linux, Nginx, MySQL and PHP. It is an alternative to the very popular LAMP, which switches Nginx for Apache. People prefer one or the other, but I like the simple syntax and great performance of Nginx. Our setup will also switch Oracle-infested MySQL for compatible MariaDB and we will install PHP 8.0 from a third-party PPA instead of the default 7.4 which is in the official Canonical repository. These are my opinionated pics – the first one is mostly political, the second performance and future-proofing related. Two of my often used web applications – WordPress and Nextcloud prefer and soon will require PHP 8.0. I usually refrain and warn against third-party PPA, however I will make an exception in this case since it is the only “easy” way to install it and because this PPA is maintained by a renowned Debian contributor, Ondřej Surý. If your server starts making you money, please consider sending a few bucks his way via his Patreon. First of all, you will need to install a package in order to add third-party repositories. Then add the repository itself.
sudo apt install software-properties-common -y
sudo add-apt-repository ppa:ondrej/php -y
When you have the repository added, you can install Nginx and php 8.0 with all the extensions you’ll need. I’ll install what is needed for a basic LEMP installation and probably install more as needed in later parts of this series. This command should install everything you’ll need at this point
sudo apt install nginx mariadb-server php8.0 php8.0-fpm php8.0-mysql certbot python3-certbot-nginx -y
After the short time installing all the packages, open up the ports for Nginx:
sudo ufw allow 'Nginx Full'
Create a new folder in /var/www/ to hold your website, change it’s owner to www-data and then copy over the default nginx config file and make the necessary changes:
sudo mkdir /var/www/your-site
sudo chown www-data:www-data /var/www/your-site
sudo cp /etc/nginx/sites-available/default /etc/nginx/sites-available/your-site
sudo nano /etc/nginx/sites-available/your-site
server {
        listen 80;
        listen [::]:80;
        root /var/www/your_server_dir;
        index index.html index.htm index.php;
        server_name yourserverdns.com www.yourserverdomain.com;

        location / {
                # First attempt to serve request as file, then
                # as directory, then fall back to displaying a 404.
                try_files $uri $uri/ =404;
        }
        # pass PHP scripts to FastCGI server
        location ~ \.php$ {
                include snippets/fastcgi-php.conf;
                # With php-fpm (or other unix sockets):
                fastcgi_pass unix:/var/run/php/php8.0-fpm.sock;
                # With php-cgi (or other tcp sockets):
       #       fastcgi_pass 127.0.0.1:9000;
        }
}
Save and close the config. You can now create a symbolic link to the /etc/nginx/sites-enabled/ so that it is activated, and test your configuration:
sudo ln -s /etc/nginx/sites-available/your-site /etc/nginx/sites-enabled/
sudo nginx -t
If your nginx config is a-OK, you can now request your SSL certificate from LetsEncrypt.
sudo certbot --nginx --agree-tos -m your@email.com -d yourserverdomain.com -d www.yourserverdomain.com
Lastly, we can create the directory for our webserver and test our nginx and php installation in one go.
sudo mkdir /var/www/your_server_dir
echo -e '<?php \n phpinfo();' | sudo tee /var/www/your_server_dir/index.php
sudo chown -R www-data:www-data /var/www/your_server_dir
sudo systemctl restart nginx
Now simply navigate to your domain in a browser of your choosing and you should see something like this:
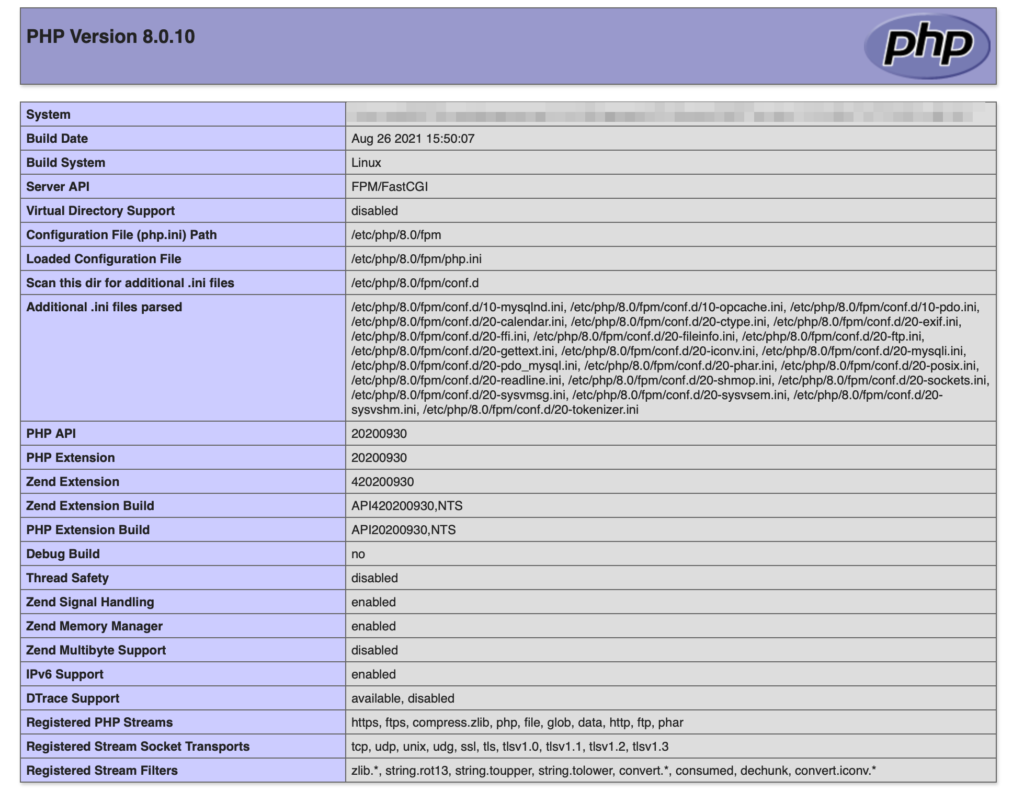
Don’t forget to delete this file:
sudo rm /var/www/your_server_dir/index.php
You can repeat the creation of the creation of the nginx config, requesting the ssl etc. and host multiple websites under multiple domains. In the future parts of this tutorial series, I’ll be covering the installation of WordPress, Mail server and Nextcloud and possibly more.
Featured image by Lydia Simons (https://freepngimg.com/author/lydiasimm-7560)